
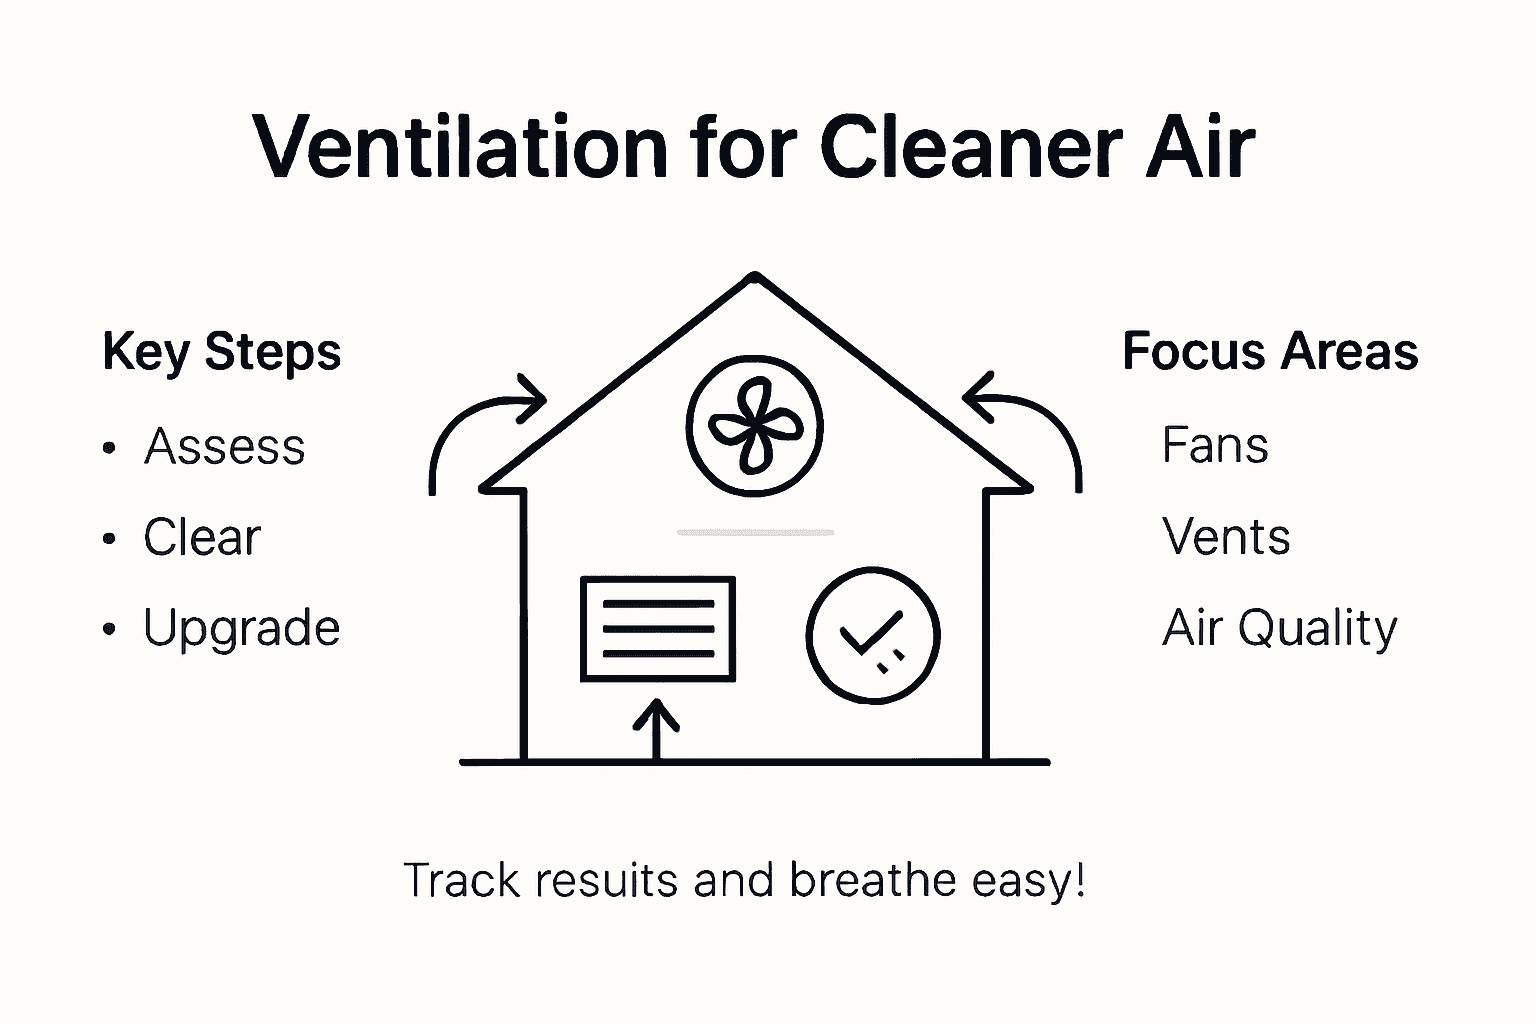
Over half of American households now report concerns about indoor air quality, a trend mirrored in major Asian cities where pollution and tightly sealed homes pose daily health risks. Many homeowners struggle with persistent odors, stuffy rooms, or visible dust building up in once-fresh spaces. Discover step by step how to assess your current setup, clear hidden obstructions, and adopt proven techniques to achieve cleaner, healthier air in your urban home.
Table of Contents
- Step 1: Assess Current Ventilation Setup
- Step 2: Clear Airflow Obstructions Indoors
- Step 3: Install or Upgrade Ventilation Equipment
- Step 4: Optimize Placement of Fans and Vents
- Step 5: Test Indoor Air Quality Effectiveness
Quick Summary
| Key Takeaway | Explanation |
|---|---|
| 1. Assess your current ventilation setup | Walk through your home to identify air movement issues and check for blocks affecting airflow. |
| 2. Remove indoor airflow obstructions | Clear clutter and obstacles around vents to ensure unimpeded air circulation within living spaces. |
| 3. Upgrade ventilation equipment | Invest in high-efficiency systems to enhance air quality, including HEPA filters for better filtration. |
| 4. Optimize fan and vent placement | Position fans and vents strategically to enhance air flow and improve indoor comfort across rooms. |
| 5. Test and monitor air quality regularly | Use an indoor air quality monitor to track pollutant levels and verify improvements after upgrades. |
Step 1: Assess Current Ventilation Setup
Improving home ventilation starts with a thorough understanding of your existing system. This assessment helps you identify potential air quality issues and develop a strategic improvement plan.
Begin by walking through your home and carefully observing air movement patterns. Check your windows, doors, and any existing ventilation points like exhaust fans or air conditioning units. The U.S. Department of Energy recommends a comprehensive framework for evaluating ventilation systems that goes beyond simple visual inspection.
To conduct a systematic assessment, focus on several key indicators. Listen for unusual sounds from HVAC systems, feel for air drafts near windows and doors, and check for areas with stagnant air or persistent odors. CDC guidelines suggest increasing outdoor air intake and using fans strategically to enhance overall indoor air circulation. Look for dust accumulation, which can indicate poor air movement, and pay attention to rooms that feel stuffier or less comfortable than others.
Pro tip: Use a simple incense stick or smoke pencil to visually track air movement patterns in different rooms of your home, revealing hidden ventilation challenges.
Step 2: Clear Airflow Obstructions Indoors
Clearing indoor airflow obstructions is crucial for maintaining healthy and efficient ventilation throughout your home. This step will help you identify and remove barriers that prevent smooth air circulation.
The Department of Energy emphasizes the critical importance of maintaining clear pathways for air movement by removing clutter and potential blockages near ventilation points. Start by systematically examining each room and identifying objects blocking air registers, vents, and potential airflow paths. Check behind furniture, curtains, and large appliances that might impede air movement. Pay special attention to areas like hallways, living rooms, and bedrooms where furniture placement can significantly impact air circulation.
CDC guidelines recommend strategic approaches to improving indoor air movement, which include not just removing physical obstructions but also understanding how different objects affect airflow. Move bookshelves, sofas, and cabinets at least a few inches away from wall vents to allow unrestricted air movement. Remove any storage items blocking floor or ceiling registers, and consider reorganizing rooms to create more open pathways for air circulation.
Pro tip: Use a lightweight piece of tissue paper near vents and registers to test air movement visibility, helping you quickly identify and resolve airflow restrictions.
Step 3: Install or Upgrade Ventilation Equipment
Upgrading your home’s ventilation equipment is a crucial step in ensuring cleaner, healthier indoor air. This process involves selecting and implementing the right mechanical systems to improve air quality and circulation.
Building assessment resources recommend carefully evaluating current ventilation systems before making upgrades, ensuring you choose equipment that meets modern air quality standards like ANSI/ASHRAE 62.2. Start by assessing your home’s specific needs. Consider the size of your living space, existing HVAC infrastructure, and specific air quality challenges. Look for high-efficiency ventilation components that can seamlessly integrate with your current system.
The CDC suggests multiple strategies for enhancing indoor air circulation, including installing advanced HVAC filters and adding dedicated air cleaning devices. Prioritize equipment with HEPA filtration capabilities, which can effectively remove microscopic particles and improve overall air quality. When selecting new ventilation equipment, focus on models that offer multiple filtration stages, adjustable fan speeds, and compatibility with your home’s existing heating and cooling systems. Consider consulting with a professional HVAC technician who can provide personalized recommendations based on your specific home environment and air quality needs.
Pro tip: Invest in a digital indoor air quality monitor before and after your ventilation upgrade to track and quantify the improvements in your home’s air circulation and particle filtration.
Here’s a comparison of popular home ventilation equipment features:
| Equipment Type | Filtration Capability | Integration Flexibility | Typical Cost Range |
|---|---|---|---|
| Central HVAC system | Advanced multi-stage | High, fits most homes | $3,000 - $7,000 |
| Portable air cleaner | HEPA filter options | Easy to relocate, plug-in | $100 - $600 |
| Exhaust fan | Basic particle removal | Best for kitchens/bathrooms | $70 - $300 |
Step 4: Optimize Placement of Fans and Vents
Improving your home’s air circulation requires strategic placement of fans and vents to maximize airflow and indoor air quality. This step will help you create an efficient ventilation system that promotes healthy air movement throughout your living spaces.
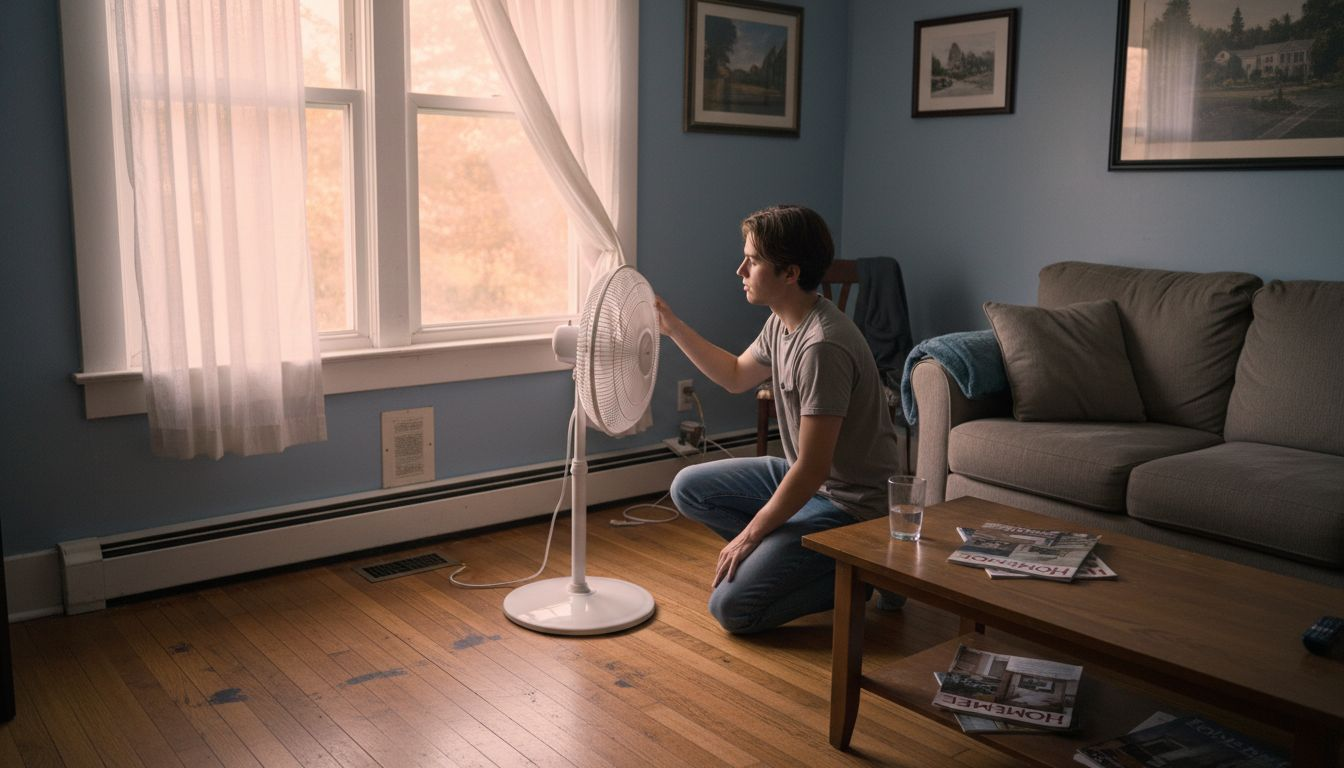
The CDC offers comprehensive guidance on positioning fans to enhance air circulation, emphasizing the importance of thoughtful placement. Start by identifying areas with poor air movement in your home. Ceiling fans should be positioned to create cross ventilation, typically rotating counterclockwise in summer to push air downward and create a cooling effect. Window fans work best when placed to either draw fresh air in or expel stale air out, depending on your specific room layout and outdoor conditions.
The Department of Energy recommends strategic vent positioning to optimize airflow and energy efficiency. Focus on creating natural air pathways by ensuring vents are not blocked by furniture or curtains. In multilevel homes, consider the vertical air movement between floors. Place fans near doorways and hallways to help circulate air between rooms, and ensure that exhaust vents in kitchens and bathrooms are clean and unobstructed to remove moisture and potential contaminants effectively.
Pro tip: Use a handheld smoke pencil or incense stick to visually map air currents and identify dead zones in your home, helping you fine tune fan and vent placement for maximum circulation.
Step 5: Test Indoor Air Quality Effectiveness
Validating the success of your home ventilation improvements requires systematic testing and measurement of indoor air quality. This critical step helps you verify that your efforts are producing meaningful results in creating a healthier living environment.
Here’s a summary of key indoor air quality indicators and their importance:
| Indicator | What It Measures | Why It Matters |
|---|---|---|
| Particulate Matter | Dust and allergens | Impacts respiratory health |
| Carbon Dioxide | Air freshness levels | Indicates proper ventilation |
| Humidity | Moisture in the air | Prevents mold and discomfort |
| Volatile Organics | Chemical pollutant levels | Signals presence of harmful substances |
Building assessment resources provide detailed methods for testing mechanical ventilation systems, emphasizing the importance of accurate measurement techniques. Start by investing in a reliable indoor air quality monitor that can track multiple parameters such as particulate matter, carbon dioxide levels, humidity, and volatile organic compounds. Pay special attention to consistent measurement locations throughout your home, taking readings at different times of day to capture variations in air quality. Compare your initial baseline measurements with post improvement readings to quantify the effectiveness of your ventilation upgrades.
The National Institute of Standards and Technology recommends comprehensive approaches for evaluating ventilation performance, highlighting the significance of repeated measurements and understanding indoor air pollutant concentrations. Consider using specialized testing equipment like CO2 monitors or particle counters to get precise data. Focus on tracking key indicators such as air exchange rates, temperature consistency, and pollutant reduction. If possible, conduct multiple tests over several weeks to ensure consistent improvements and identify any potential fluctuations in your home’s air quality.
Pro tip: Document your air quality measurements in a spreadsheet with timestamps and specific locations to create a comprehensive record of your home’s ventilation performance over time.
Breathe Easier with Smarter Home Ventilation Solutions
Struggling with poor air circulation or stale indoor air? The article “Home Ventilation Improvement Steps for Cleaner Air” highlights crucial challenges like clogged vents, ineffective airflow, and the need for better filtration. These issues impact your comfort and health daily. If you want to turn your home into a place of fresh clean air with improved ventilation equipment and smart airflow solutions visit MyZabka for home and kitchen products designed to help you breathe better.

Take control of your indoor air quality now by exploring reliable fans efficient filters and easy-to-install ventilation accessories. Act quickly to enjoy a healthier living space and safeguard your loved ones from pollutants. Don’t wait for discomfort to take over visit MyZabka today and discover how simple upgrades can transform your home’s air circulation. Start improving your comfort and wellbeing with trusted products that match the steps outlined in the guide.
Frequently Asked Questions
How can I assess my current home ventilation setup?
Start by walking through your home to observe air movement patterns, checking for drafts and stagnant areas. Focus on listening for unusual sounds from HVAC systems and look for dust accumulation to identify potential air quality issues.
What are the common indoor airflow obstructions that I should remove?
Look for objects blocking air registers, vents, and pathways in each room, including behind furniture and appliances. Remove clutter and relocate items to ensure at least a few inches of space around air vents for smooth airflow.
What types of ventilation equipment should I consider installing or upgrading?
Consider high-efficiency ventilation systems that meet modern air quality standards and include HEPA filtration capabilities. Upgrade equipment that can effectively remove particles and integrate seamlessly with your existing HVAC system.
How can I optimize the placement of fans and vents in my home?
Position ceiling fans to create cross ventilation, rotating them counterclockwise in summer, and strategically place window fans to either draw in fresh air or expel stale air. Ensure vents are unobstructed by furniture to improve overall airflow.
How do I test the effectiveness of my indoor air quality improvements?
Invest in an indoor air quality monitor to track key indicators such as particulate matter and humidity levels. Compare readings before and after your ventilation upgrades to quantify the improvements in air quality.
What should I document when measuring indoor air quality?
Create a record of your air quality measurements in a spreadsheet, noting timestamps and specific locations in your home. This will help you track your home’s ventilation performance over time and identify fluctuations in air quality.